


Happy New Year RV Friends,
We finished our RV6 Dec. 2019 and have enjoyed flying it to so much that it was hard to stop and apply some color.
We really wanted to vinyl wrap and purchased numerous 3M 1080 and 2080 colors and finishes and I posted on here about how easy they are to scratch, especially the gloss black. The other issue was availability. Very limited color selection in the 2080 series. So, I put it on the back burner for a year.
Eventually, I ordered several different brands of vinyl in colors the vendor had lots of stock. After more testing I went with VVivid brand. The colors and finishes I choose are not nearly easy to scratch and they heal well with heat.
wcalvert has a very good write up on applying vinyl in this thread that I followed: https://vansairforce.net/community/showthread.php?t=187568&highlight=vinyl+seams+aligned+panel&page=2
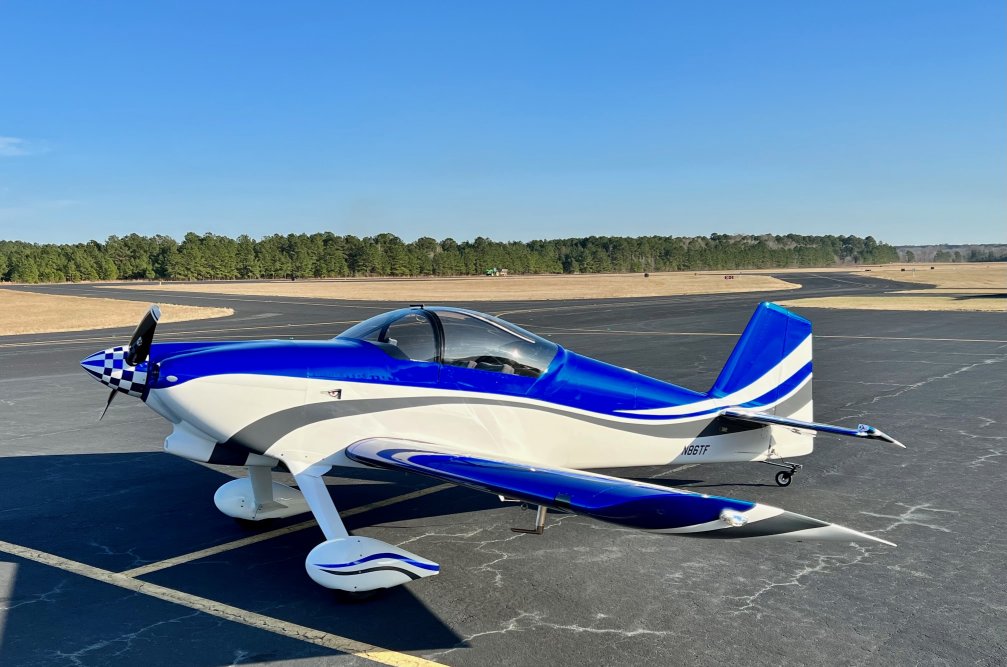
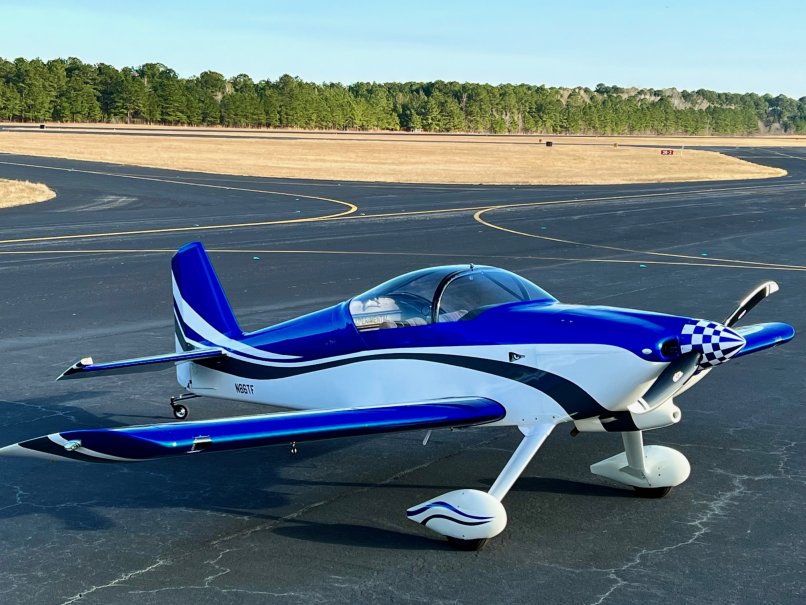
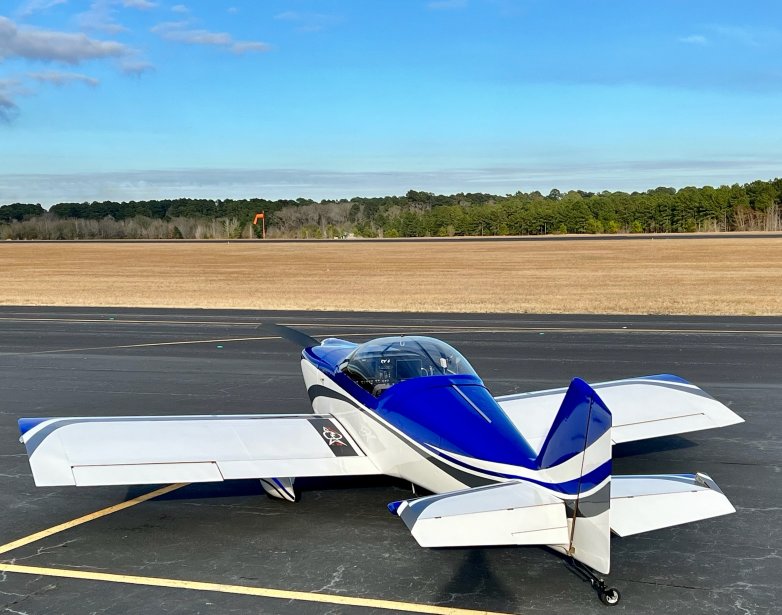
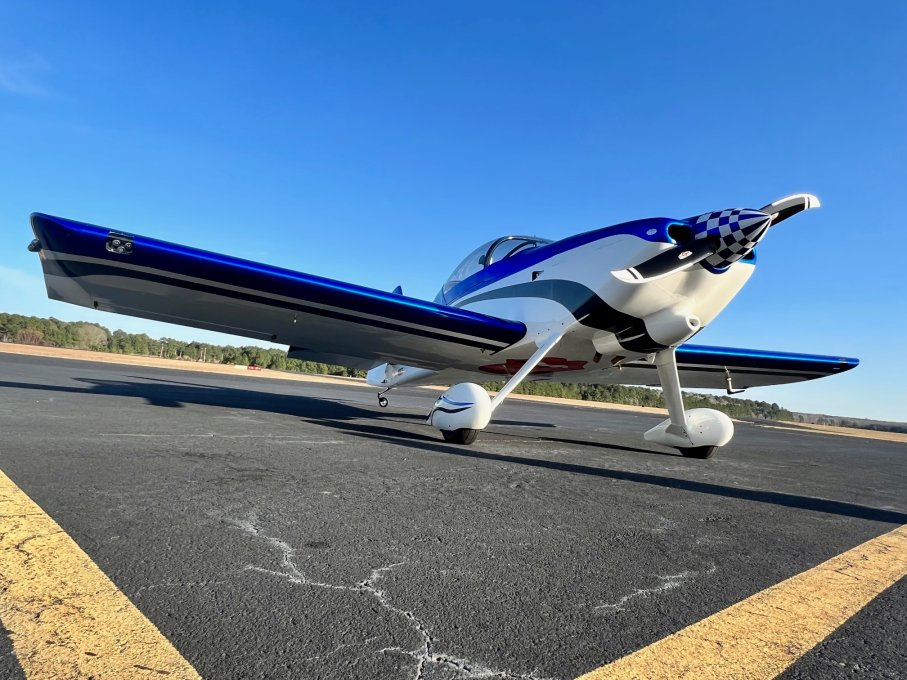
The wheel pants, spinner, and snorkel are painted white but everything else is wrapped. The blue checker pattern on the spinner is vinyl and seems to be holding up well. I did manage to wrap the wheel pants and spinner, but the vinyl was stretched more than I felt comfortable with.
The most difficult section was probably the tail fairing. Just so many intersecting colors and making sure the lines align.
Is it perfect? No, it has seams and a few of the compound curve areas could probably be better if done by someone with more experience. But if you want a good, do it yourself project and don't want to mess with paint then it is a good solution. Plus, the vinyl is comparatively cheap. I ordered a bit much but didn't want to have to stop and wait on shipping from Canada. I ordered 130 feet of white with about 10 feet left over 70 feet of blue with about 15 feet left over, and 50 feet of grey with about 15 feet left over.
There is a surprising amount of waste and trash to be dealt with. I bet we took two 13 gallons trash bags to the dumpster every day. Post heating was the most boring and probably most important part. With two heat guns it took us about 40 minutes to post heat the top of the wing. Be sure and get a roller to help press the vinyl into the rivets. "RollePro"
The plane weighs exactly 20lbs more after wrapping.
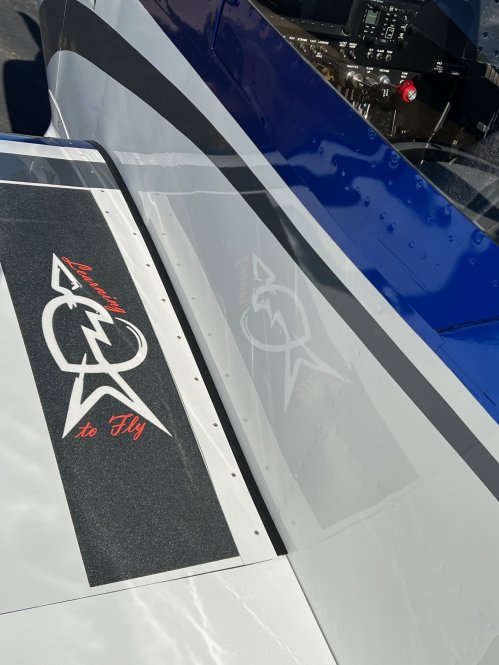
Wanted to do something fun with the wing walks. Pilot side is Tom Petty, Learning to Fly
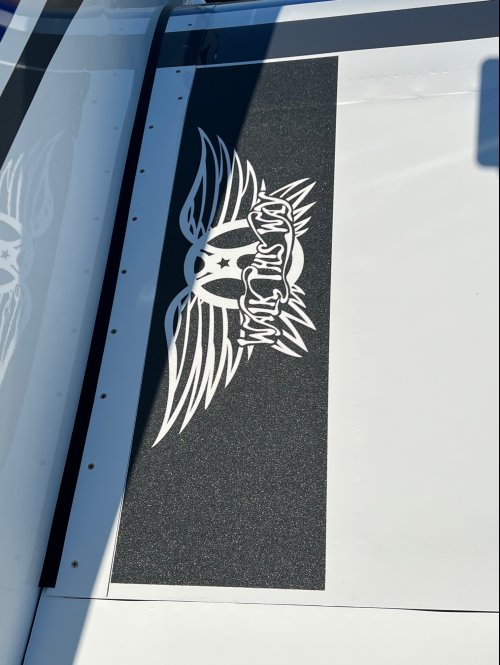
CoPilot is Aerosmith, Walk this Way, seemed appropriate for the passenger side.
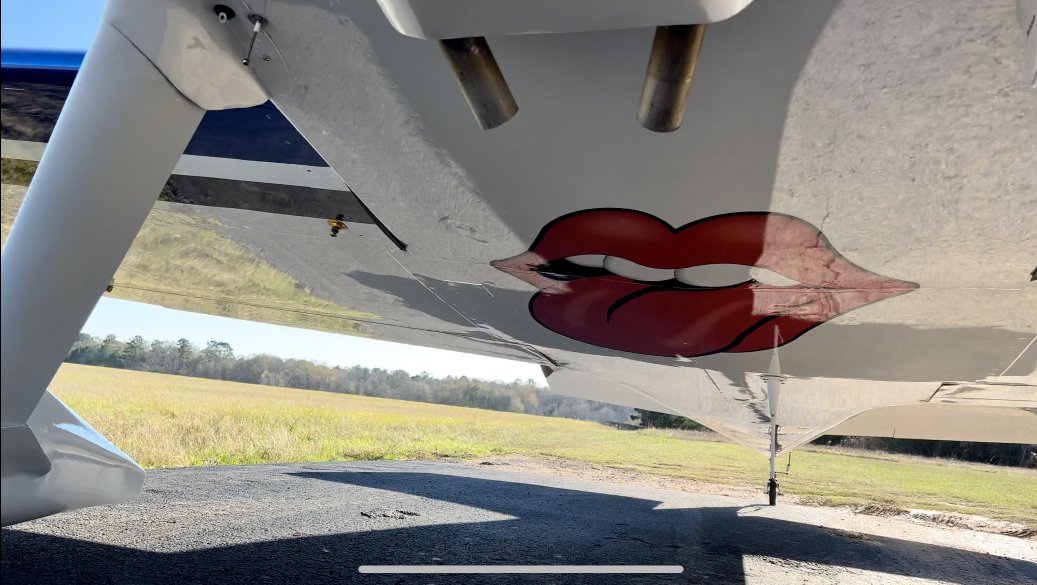
My wife loves this one.
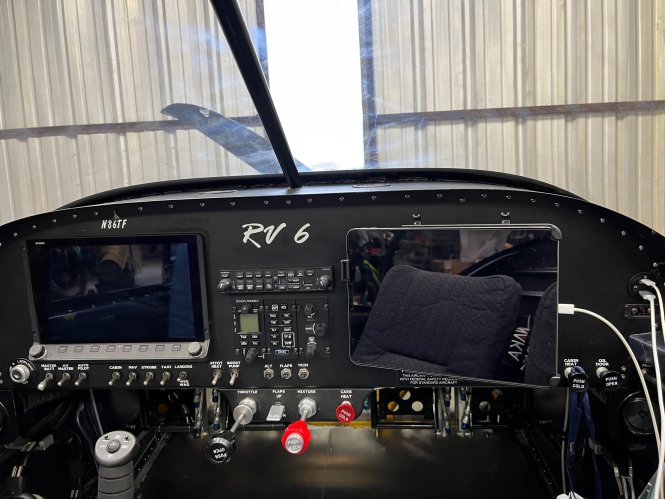
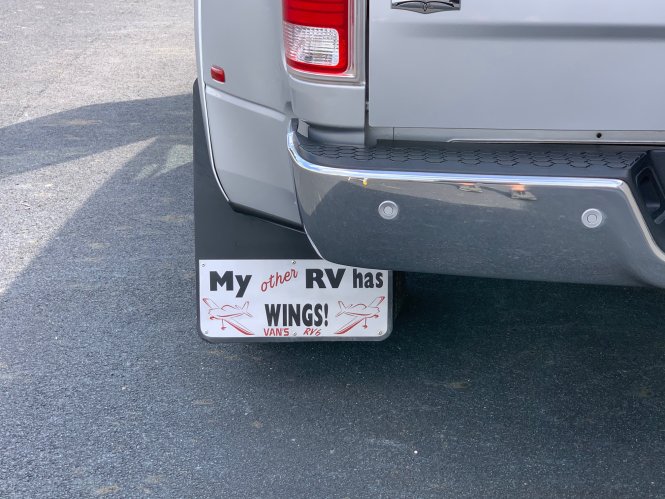
We travel in our fifth wheel a bunch and my wife made some new mud flaps. We have a had few RV owners say high during our travels.
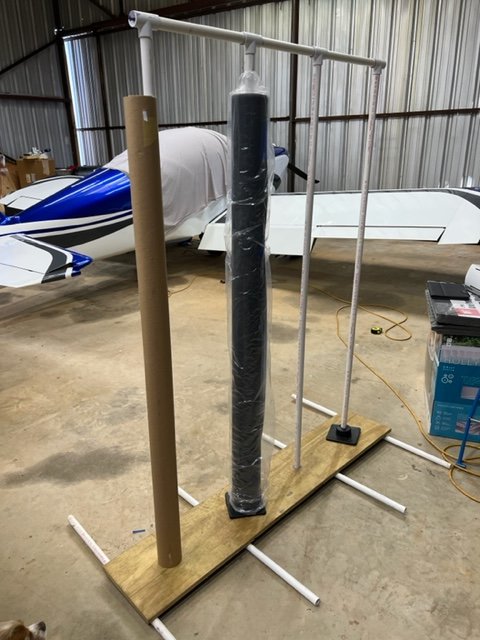
We made this keep the vinyl upright which seems to be the best way to store it.
Blue Skies
We finished our RV6 Dec. 2019 and have enjoyed flying it to so much that it was hard to stop and apply some color.
We really wanted to vinyl wrap and purchased numerous 3M 1080 and 2080 colors and finishes and I posted on here about how easy they are to scratch, especially the gloss black. The other issue was availability. Very limited color selection in the 2080 series. So, I put it on the back burner for a year.
Eventually, I ordered several different brands of vinyl in colors the vendor had lots of stock. After more testing I went with VVivid brand. The colors and finishes I choose are not nearly easy to scratch and they heal well with heat.
wcalvert has a very good write up on applying vinyl in this thread that I followed: https://vansairforce.net/community/showthread.php?t=187568&highlight=vinyl+seams+aligned+panel&page=2
The wheel pants, spinner, and snorkel are painted white but everything else is wrapped. The blue checker pattern on the spinner is vinyl and seems to be holding up well. I did manage to wrap the wheel pants and spinner, but the vinyl was stretched more than I felt comfortable with.
The most difficult section was probably the tail fairing. Just so many intersecting colors and making sure the lines align.
Is it perfect? No, it has seams and a few of the compound curve areas could probably be better if done by someone with more experience. But if you want a good, do it yourself project and don't want to mess with paint then it is a good solution. Plus, the vinyl is comparatively cheap. I ordered a bit much but didn't want to have to stop and wait on shipping from Canada. I ordered 130 feet of white with about 10 feet left over 70 feet of blue with about 15 feet left over, and 50 feet of grey with about 15 feet left over.
There is a surprising amount of waste and trash to be dealt with. I bet we took two 13 gallons trash bags to the dumpster every day. Post heating was the most boring and probably most important part. With two heat guns it took us about 40 minutes to post heat the top of the wing. Be sure and get a roller to help press the vinyl into the rivets. "RollePro"
The plane weighs exactly 20lbs more after wrapping.
Wanted to do something fun with the wing walks. Pilot side is Tom Petty, Learning to Fly
CoPilot is Aerosmith, Walk this Way, seemed appropriate for the passenger side.
My wife loves this one.
We travel in our fifth wheel a bunch and my wife made some new mud flaps. We have a had few RV owners say high during our travels.
We made this keep the vinyl upright which seems to be the best way to store it.
Blue Skies
Last edited:


