Thanks, Joe. I'll email you in a little while.
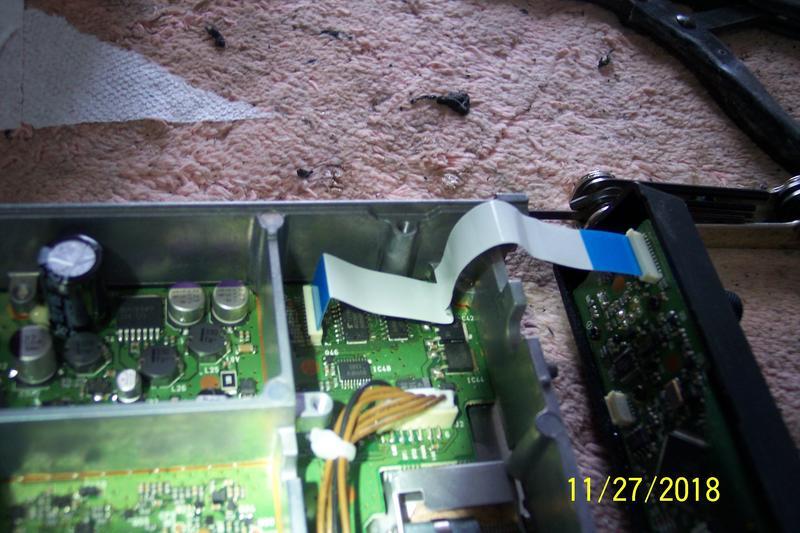
I figured 10 minutes tops to plug the Icom back into the tray, but it took over three hours. What a cluster****. The unit slid right in and the connectors mated, then I loosened the two screws holding the panel in place so I could cinch up the top bale (bottom one not used on my unit). The front panel just fell off and the ribbon cable pulled out of the connector. The ribbon cable was only protruding 1/4" from the chassis, and it wouldn't budge when I went to pull it out further in order to re-mate it.
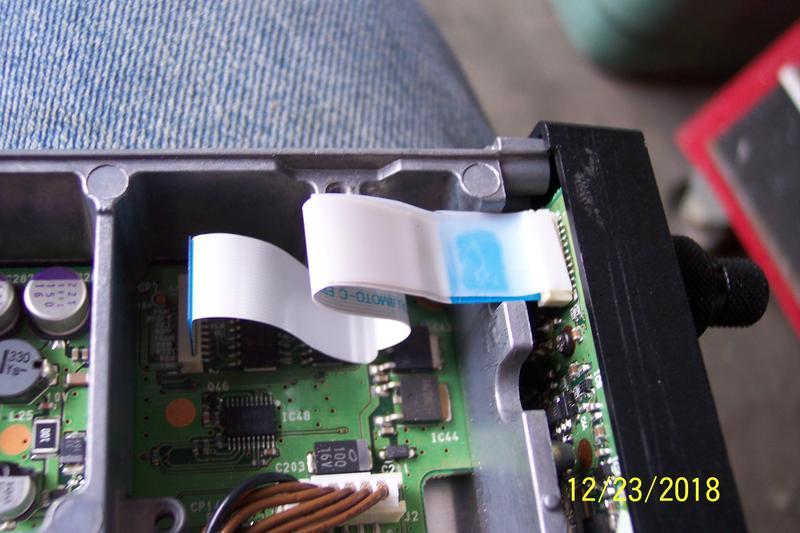
So I pulled the radio from the tray and removed the top cover to see what was going on. Sandra had taped the ribbon cable in place which was all well and good until it came time to reinstall the unit in the tray. Sigh... I removed the tape and freed up the ribbon cable but when I reinstalled the top cover, plugged the ribbon cable back into the front panel and went to slide the cable back into the slot, it wouldn't go; The cable just crumpled up. It was hitting something. Not good.
So
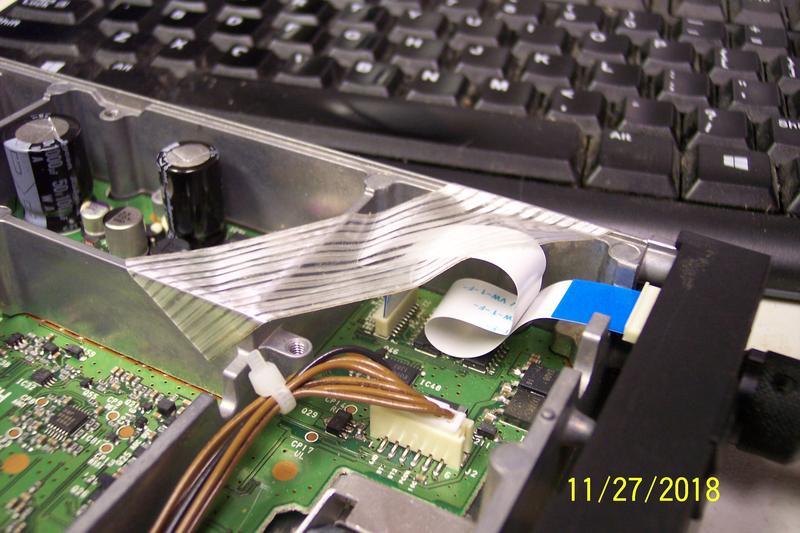
one more time I removed the unit and the top cover. This time I applied a piece of teflon anti-chafe tape along the top of the ribbon cable, overlapping 1/8" onto the face plate connector. I figured that would stiffen things up and it did, but the ribbon cable still wouldn't slide back into the slot. After taking the top cover off for the third time, I saw the problem when I turned the cover over. Someone had applied a piece of hard rubber foam to the underside of the top cover to keep the ribbon cable from chafing against the aluminum cover.
It was clear that Sandra had assembled the unit with the front panel in place, giving no thought of how some poor fool (me) would be able to remove and reinstall the face plate after installation which is necessary to cinch up the unit in the tray with the 3/32" Allen wrench.
So I made a little ramp over the foam block out of more teflon anti-chafe tape, and that fixed it so the ribbon cable would slide back in there. I used 3M Primer #94 on both the ribbon cable connector and the aluminum in front of the foam block so (hopefully) the anti-chafe tape would stick. I
hope the anti-chafe tape keeps the ribbon cable from pulling out of the socket because it isn't all that tight of a fit.
Teflon anti-chafe tape:
Foam block:
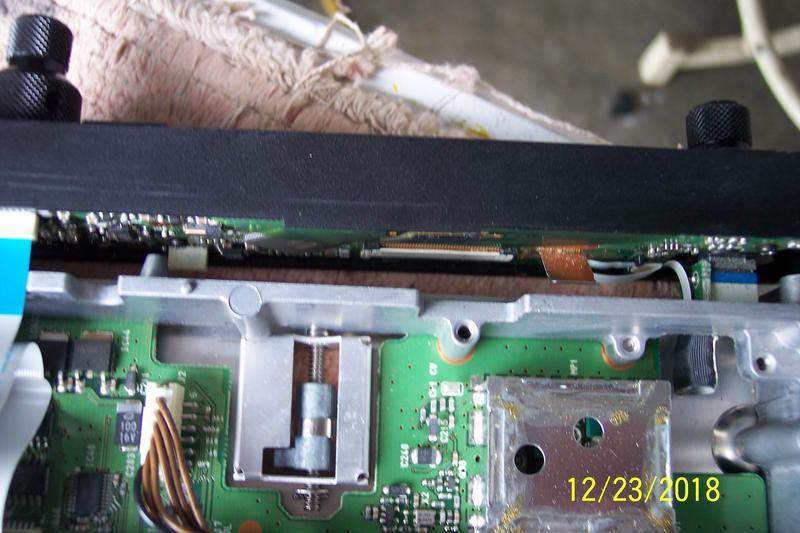
I also noticed a metal spring finger which apparently was a case ground for the faceplate (see picture below). It wasn't all that springy so I bent it a little so it would make better contact.
Copper-colored spring finger:
I
finally got the unit installed and turned it on and no smoke was noted. The frequency display came up but when I went to dial up new frequencies using the inner/outer knobs, they turned together so it was impossible to change just the decimal frequencies without using two hands. Hopefully I can loosen the inner knob with a tiny Allen wrench so that it doesn't rub on the outer knob. It's my sense that Sandra must have replaced the entire front panel after all because the knobs weren't tight like that on my old panel. Also, I didn't see any evidence of soldering on this panel.
Bottom line: The unit receives OK but I haven't tried to transmit yet. Reinstallation shouldn't have been this difficult.


")