Fenderbean
Well Known Member
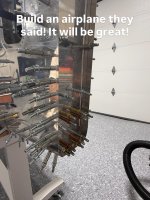
Greetings!
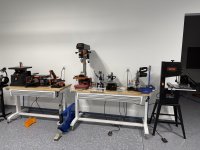
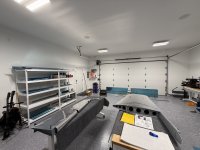
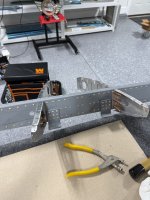
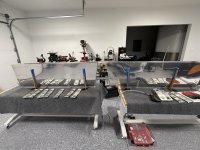
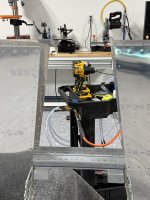
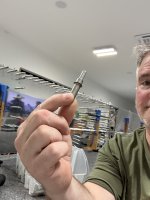
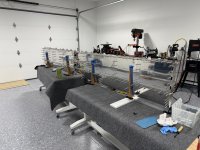
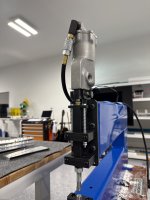
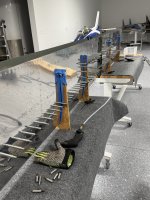
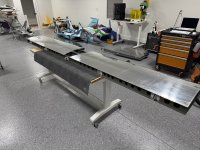
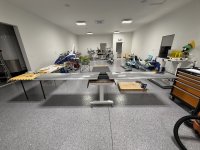
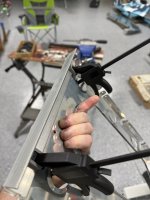
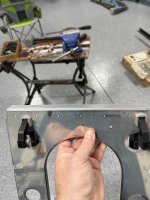
About to restart the build, I have been buying some tools to improve and speed up the process this time around I will try and highlight and when possible, get them on the channel.
I will be doing some cool things on my channel and to learn as a I go and to help anyone I can is what I enjoy most. While doing that I hope to bring in my other love for music and have some famous musicians come buy build and eventually fly with me while doing some basic questions and answer type interviews.
I don't know if it's appropriate to post my channel here so I will hold for now.
If anyone cares my background in aviation is mostly military, started off working on them then transitioned to flying. Had time as an instructor with the bulk as a maintenance test pilot.
retired in 19 and decided against the airline job I had after covid and now just a contractor flying a desk.
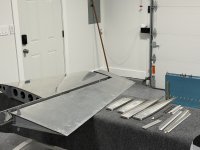
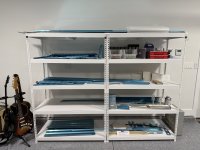
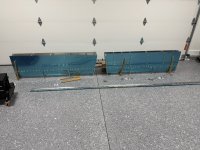
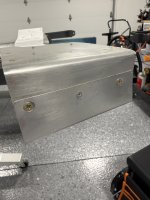
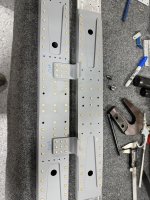
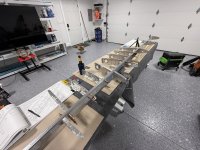
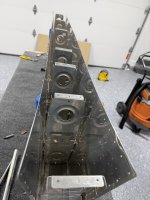
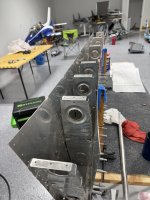
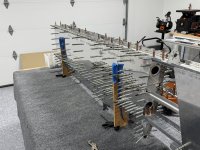
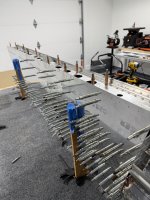
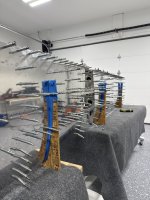
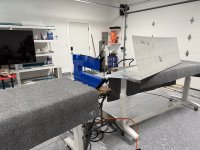
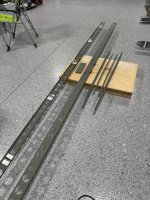
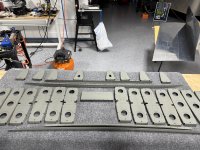
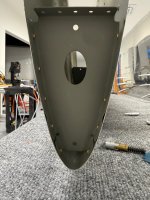
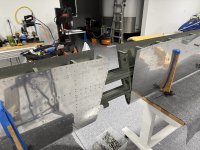
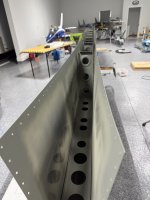
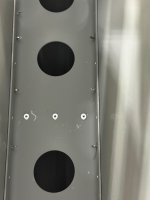
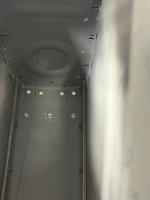
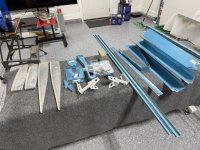
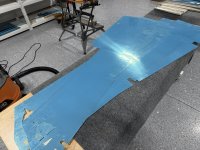
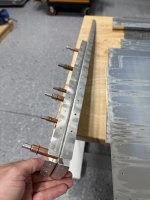
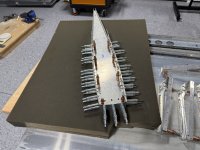
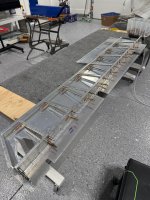
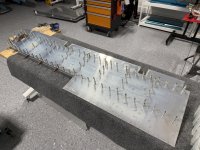
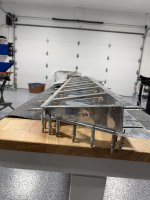
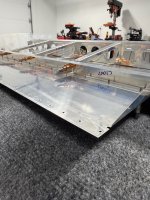
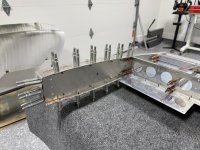
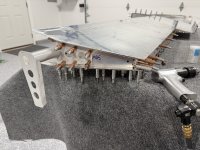
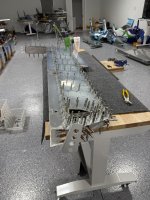
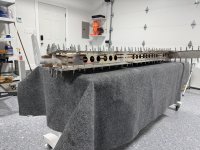
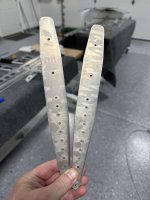
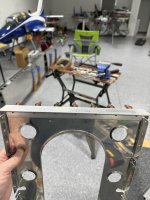
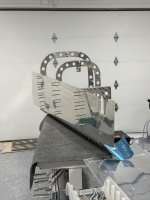
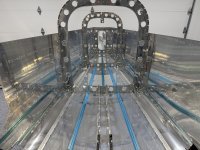
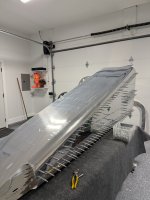
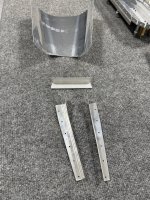
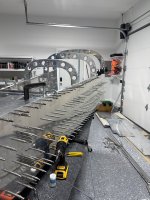
Tail kit on hand with vertical and rudder complete about to start the horizontal. Once I get rolling, I will update here and possibly post links to the youtube channel
About to restart the build, I have been buying some tools to improve and speed up the process this time around I will try and highlight and when possible, get them on the channel.
I will be doing some cool things on my channel and to learn as a I go and to help anyone I can is what I enjoy most. While doing that I hope to bring in my other love for music and have some famous musicians come buy build and eventually fly with me while doing some basic questions and answer type interviews.
I don't know if it's appropriate to post my channel here so I will hold for now.
If anyone cares my background in aviation is mostly military, started off working on them then transitioned to flying. Had time as an instructor with the bulk as a maintenance test pilot.
retired in 19 and decided against the airline job I had after covid and now just a contractor flying a desk.
Tail kit on hand with vertical and rudder complete about to start the horizontal. Once I get rolling, I will update here and possibly post links to the youtube channel

 considering current cost I saved a ton on the tail kit at least.