

erich weaver
Well Known Member
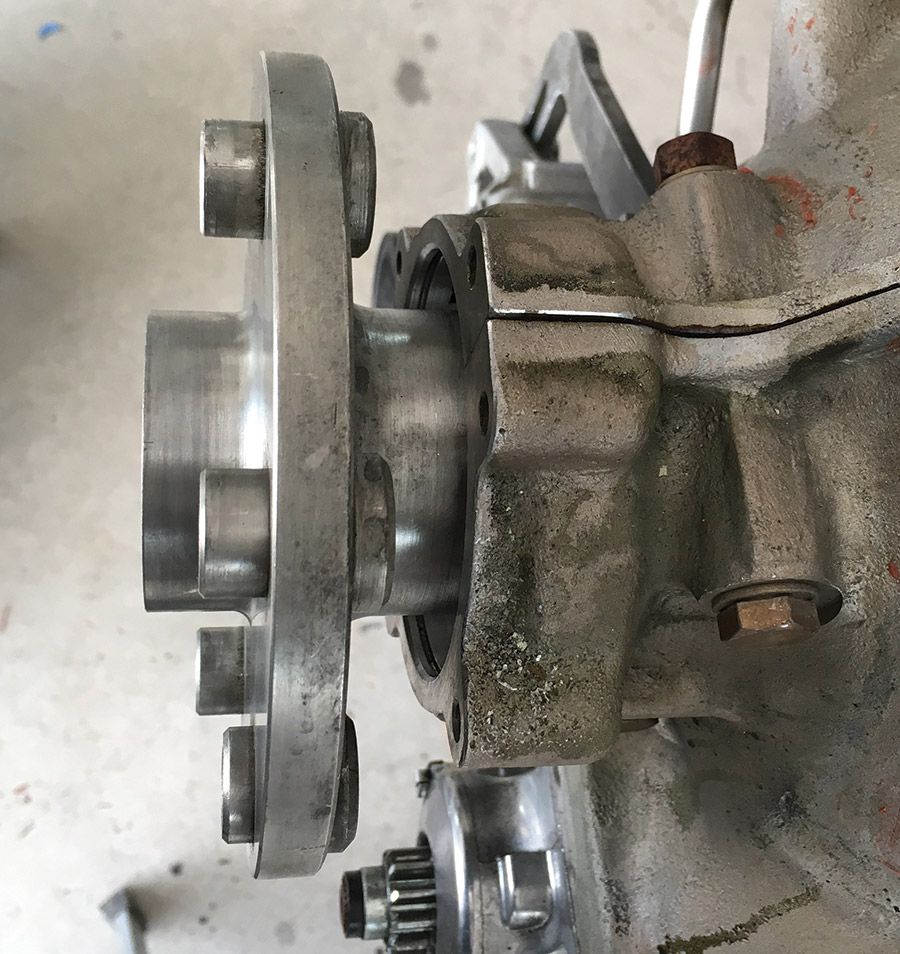
Did my first crankshaft oil seal replacement today to hopefully fix a small but annoying oil leak. Was pretty wary of this job, as there is a fully committed point when you tear out the old seal, destroying it in the process. Read Paul Dye’s excellent how to article, bought the necessary supplies, made a two dollar seal stretcher tool, took a few deep breaths, and dove in. All went well, and I would encourage anyone with moderate building and maintenance skills to go ahead and tackle this job when needed.
here Is the link to the article describing the process and recommended tools and supplies:
A few tips:
I bought a $15 set of picks from ACS to remove the old seal with. Money well spent.
the hardest part of the job is cleaning the old RTV/cement off the engine case groove. The acetone soaked scotch bright strip seems to work best, but it’s a tedious chore. Most of the time is spent on this step. Helps to have a good light source that can shine into the tight work space.
i made the seal stretcher tool described in the article. I cut the groove from the middle of the PVC electrical conduit elbow all the way to one end to help me get it under the rubber seal before starting the big stretch. The Sch40 PVC is still plenty stiff enough after doing this.
dental picks are critical for getting the spring Into the groove on the new rubber seal.
The plastic tire irons are great for stuffing a scotch bright strip into the groove in the engine case and working it around the crankshaft.
the disposable acid brush to apply the RTV/cement works best if you bend the tip at an angle so you can reach into the engine case a bit.
im feeling good about learning the ins and outs of a new task. Wasn’t bad at all really. Now I have to do what I really dread. Safety wiring the Whirl Wind 200RV prop.

