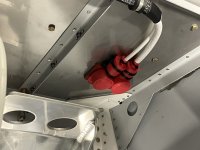
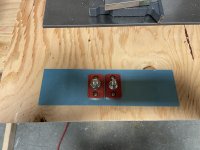
In working on the firewall forward, I hooked up a power supply to the main battery feed and the Master solenoid immediately picked up! I shut things down and started checking to see what happened. I knew the Master had to be grounded to pick-up so I checked and sure enough, the wire was grounded. After tracing back to the firewall, I found the insulation split at the eyeball feedthrough. It's not a big deal to run a new wire but I wonder if I am doing something wrong. How do you make sure the feedthrough is tight enough but not too tight? Do you run the wires through some other shield? This is the type I am using. Thanks for any suggestions you can offer.
Paul

Paul