Example of riveting that can occur effectively without the use of the traditional riveting method (rivet gun, bucking bar, and 2 people).

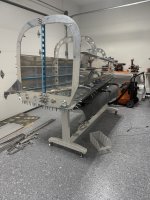
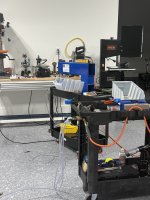
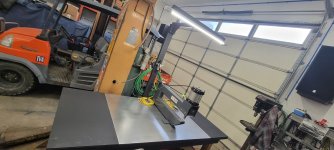
No everyone has convient access to a building buddy but our builds must continue! Clemson Aeronautics and the CARD-2 system could be a VERY useful tool for one person operation. Note the reach. Note the foot operated pedal ($16) allowing BOTH hands free.
No everyone has convient access to a building buddy but our builds must continue! Clemson Aeronautics and the CARD-2 system could be a VERY useful tool for one person operation. Note the reach. Note the foot operated pedal ($16) allowing BOTH hands free.


![[RSB35] Back Rivet Set.jpg](/data/attachments/97/97776-de648446fbb4d889a52cd14a0112f9a6.jpg?hash=8VXUxxlT5U)