Majorpayne317641
Well Known Member
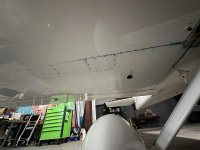
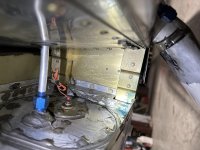
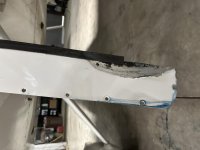
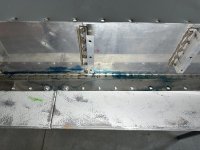
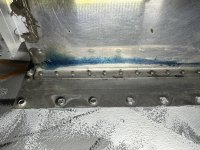
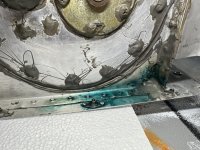
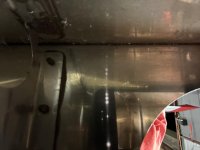
I recently started smelling fuel in the cockpit and went over every fuel line I could find but could never really figure it out, never could find any fuel on the ground in the hangar nor any blue stains on the floor. Finally I went out flying and after coming back I noticed blue fuel stains on the bottom of the wing. After pulling off the wing root fairing it does not look like it’s leaking from any of the fuel sensor cover plates or the fuel lines. I also find it strange that it leaks only when flying and that there is so much on the spar/tank area of the wing.
I think I need to take it off to really see what’s going on.
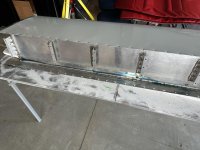
How best do you accomplish this? I see the front wing root bracket has an L shape that is bolted to the tank but in a way that it probably won’t slide forward without me removing the L bracket, is that correct?
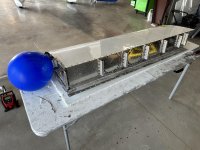
Once it is off, is there a way to pressurize the tank with water? Or do you fill it up and let it sit?
Aircraft has 1300 hrs on it and is 12 years old. I am not the builder, it looks like the builder used pro seal on everything to include the fuel level sensor.
I think I need to take it off to really see what’s going on.
How best do you accomplish this? I see the front wing root bracket has an L shape that is bolted to the tank but in a way that it probably won’t slide forward without me removing the L bracket, is that correct?
Once it is off, is there a way to pressurize the tank with water? Or do you fill it up and let it sit?
Aircraft has 1300 hrs on it and is 12 years old. I am not the builder, it looks like the builder used pro seal on everything to include the fuel level sensor.