backcountrypilot
Member
I apologize for the title to anyone else just starting an RV 6 project now or in the future. But hopefully it brings us together in discussion because we will probably both need some help!
I recently purchased an unbuilt early RV 6 kit. And by early I mean no pre-punched skins. It has been a bit harder to come by information than I thought for these "older" kits. It truly feels like I am the last one starting an RV 6 kit. I am getting the workshop set up and hope to find some advise and tips from some 6 builders on here as I proceed.
I am not walking into this totally blind as I have quite a bit of airframe experience on certificated aircraft. But this is my first RV and first Experimental experience.
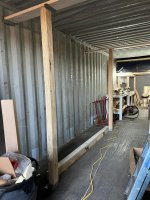
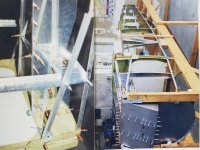
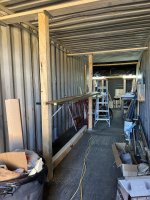
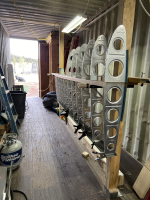
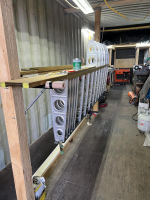
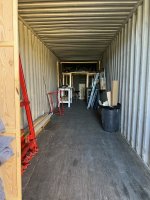
I am lucky to live on an "airport" with a dirt strip that I hope will work out ok with the aircraft when it becomes more than a dream. What I don't have is a hangar at the moment. I have set up a 40' high cube shipping container to get started as both storage and a workshop to start construction.
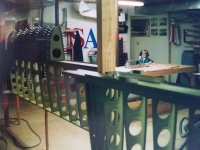
The empennage kit has already been completed however I do believe I will end up building a new one for a few reasons if I can get my hands on another or possibly build a larger tail as the later kits had.
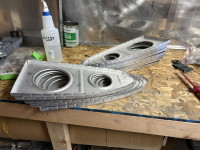
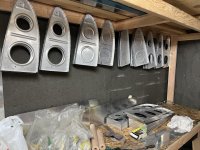
I plan to start on the wings. I have been prepping the ribs in the little amount of free time I have at the moment and things are going well so far. My work is seasonal in the Spring and Fall so I plan to go full in on the wings as we get into winter.
Hope to be posting progress more in the next few months and hopefully can get in touch with some RV 6 builders/ owners in the future. I am located in Elizabeth Colorado
More to follow!
I recently purchased an unbuilt early RV 6 kit. And by early I mean no pre-punched skins. It has been a bit harder to come by information than I thought for these "older" kits. It truly feels like I am the last one starting an RV 6 kit. I am getting the workshop set up and hope to find some advise and tips from some 6 builders on here as I proceed.
I am not walking into this totally blind as I have quite a bit of airframe experience on certificated aircraft. But this is my first RV and first Experimental experience.
I am lucky to live on an "airport" with a dirt strip that I hope will work out ok with the aircraft when it becomes more than a dream. What I don't have is a hangar at the moment. I have set up a 40' high cube shipping container to get started as both storage and a workshop to start construction.
The empennage kit has already been completed however I do believe I will end up building a new one for a few reasons if I can get my hands on another or possibly build a larger tail as the later kits had.
I plan to start on the wings. I have been prepping the ribs in the little amount of free time I have at the moment and things are going well so far. My work is seasonal in the Spring and Fall so I plan to go full in on the wings as we get into winter.
Hope to be posting progress more in the next few months and hopefully can get in touch with some RV 6 builders/ owners in the future. I am located in Elizabeth Colorado
More to follow!
")