


Van's Air Force

The definitive Van's Aircraft support community! Buying, building or flying an RV? Join our exclusive family of mentors and enthusiasts!

Pro Seal Quantity to "reseal" a single tank

Hey gang, plan to reseal a -8 tank using the method linked below and doing the full inside and 5 patches. How much sealant is likely needed for this job. Can't seem to find that estimate anywhere. I know it's ballpark, but I don't want to buy a ridiculous amount and waste the money! Thanks.
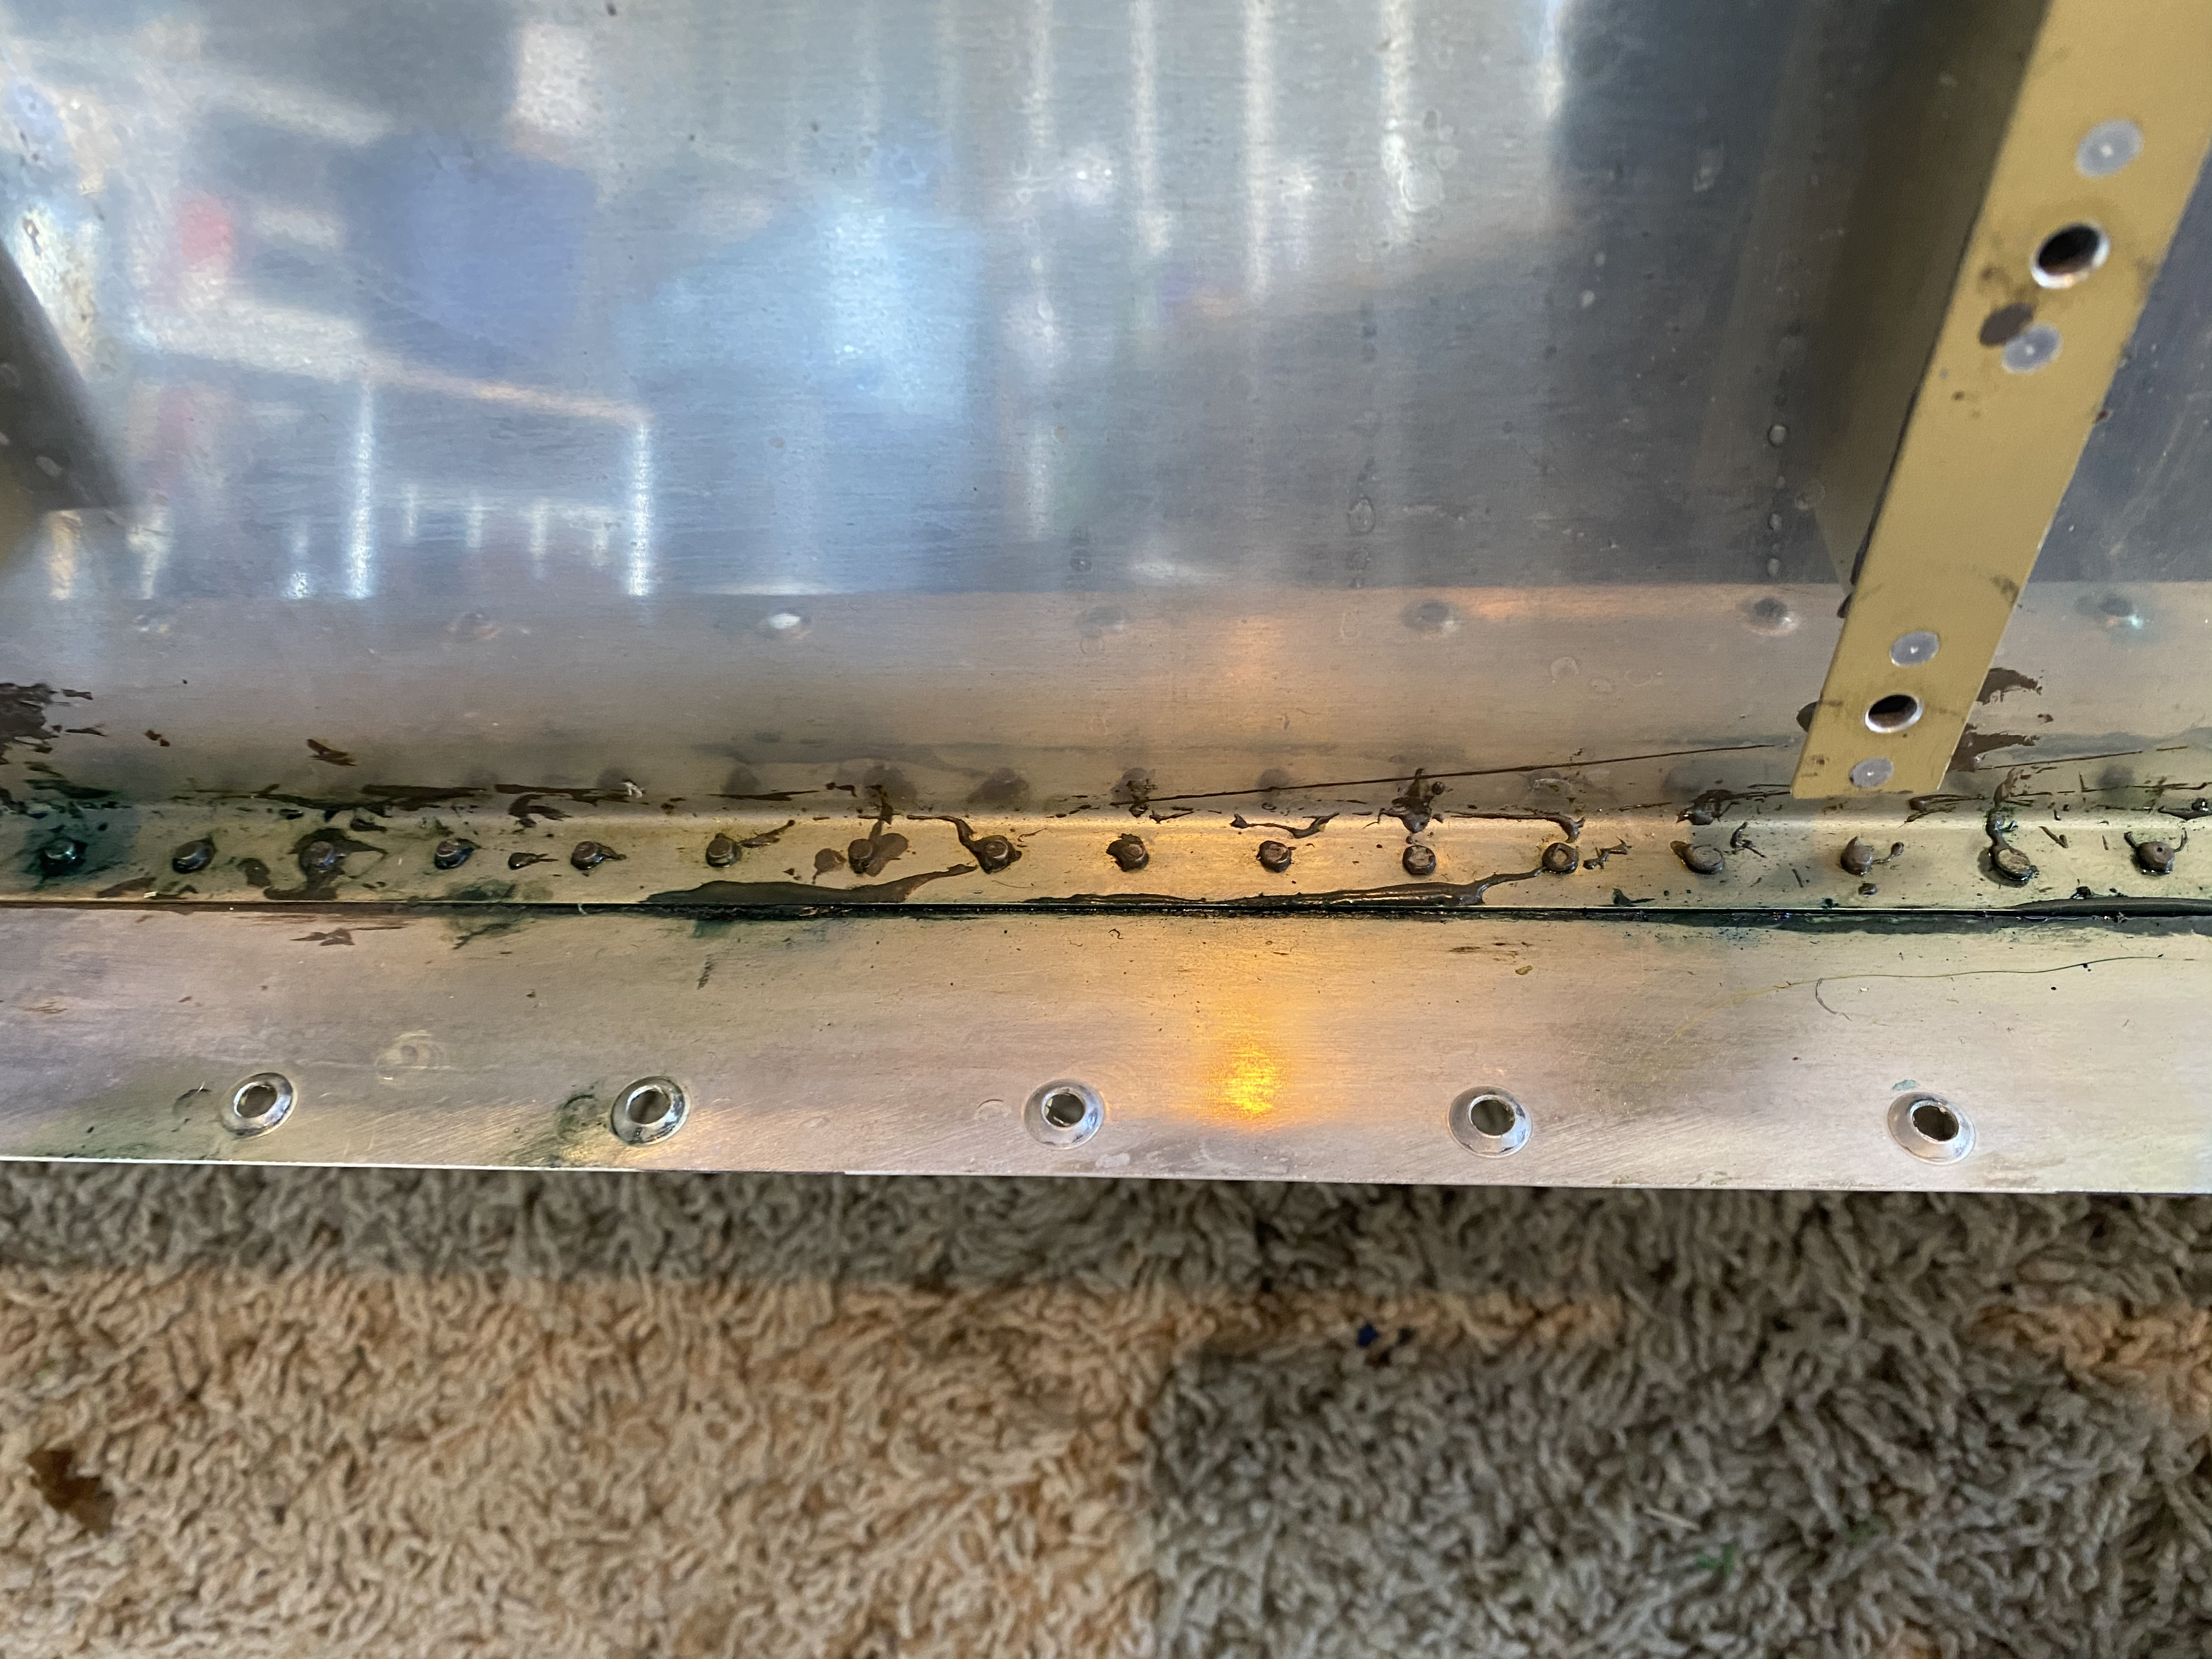
 
Hey gang, plan to reseal a -8 tank using the method linked below and doing the full inside and 5 patches. How much sealant is likely needed for this job. Can't seem to find that estimate anywhere. I know it's ballpark, but I don't want to buy a ridiculous amount and waste the money! Thanks.

More than you'd think. You'll probably find the pint kit to be the best value because you can mix as much or as little as needed. Invest in a gram scale. Watch the how-to build a tank video from Vans.
 
Buy the quart size kit. I usually mix up around 30-40 grams of sealant and that will easily do a couple of internal bays, or a couple of the tank repair kits. If you are building a completely new tank, then you will use a quart plus for the two tanks.
I mix it up on a small paper plate and use a Harbor Freight digital scale. Weigh out 10-1 ratios of the white and black parts (ie, 30 grams white, 3 grams black). Keep the remaining proseal on the plate and use that as a test coupon to tell you that the sealant has set up firmly or not.
BTW, I've got more than a few "tank repair" blog posts.
 
Good suggestions above. Not that you should be crazy-sloppy, but I have found Proseal is pretty tolerant to variations of mix quantities. (A "good" level of diligence here will result in complete curing results.)

Keep what you have left in a refrigerator (well sealed for odors and wife management). It will last a long time.
 
Last edited:
If your plan is to completely remove the old sealant and cover everything with B sealant, you will need close to a 1/2 qt. Every gap, overlap and rivet tail need to be covered. Are you removing the rear baffle?

I suggest diligence in weighing / measuring. I don't believe it is tolerant of slopiness. I resealed two tanks that were leaking like sieves. Proseal was not proportioned properly and could scrap it off with my finernail. As soon as i opened it, was obvious from the light grey color; not enough activator.
 
I use a quart if B2 sealant to reseal a pair of 6 gas tanks. That involves skimming sealant on EVERY internal seam, rivet shop heads, side cover & repair covers. I’m not afraid of creating a mess inside as long as the reseal surfaces is smooth & consistent where it counts. Make sure the 10 - 1 mix is accurate by weight.
Edit- also internal prep work is mandatory
Remove any & all degraded sealant completely, clean & scotchbrite all surfaces to be resealed, thoroughly clean all dust & debris before starting re-sealing.
 
Last edited:
If your plan is to completely remove the old sealant and cover everything with B sealant, you will need close to a 1/2 qt. Every gap, overlap and rivet tail need to be covered. Are you removing the rear baffle?

I suggest diligence in weighing / measuring. I don't believe it is tolerant of slopiness. I resealed two tanks that were leaking like sieves. Proseal was not proportioned properly and could scrap it off with my finernail. As soon as i opened it, was obvious from the light grey color; not enough activator.
I was planning to open up each bay and go that route, rather than removing the rear baffle. Is there an advantage to removing the rear over opening up each bay? Seems like a better chance at sealing everything from the inside with the latter.
 
I use a quart if B2 sealant to reseal a pair of 6 gas tanks. That involves skimming sealant on EVERY internal seam, rivet shop heads, side cover & repair covers. I’m not afraid of creating a mess inside as long as the reseal surfaces is smooth & consistent where it counts. Make sure the 10 - 1 mix is accurate by weight.
Edit- also internal prep work is mandatory
Remove any & all degraded sealant completely, clean & scotchbrite all surfaces to be resealed, thoroughly clean all dust & debris before starting re-sealing.
That's kind of my thought process on it. I'd rather do it entirely and thoroughly once, rather than keep chasing leaks.
 
Buy the quart size kit. I usually mix up around 30-40 grams of sealant and that will easily do a couple of internal bays, or a couple of the tank repair kits. If you are building a completely new tank, then you will use a quart plus for the two tanks.
I mix it up on a small paper plate and use a Harbor Freight digital scale. Weigh out 10-1 ratios of the white and black parts (ie, 30 grams white, 3 grams black). Keep the remaining proseal on the plate and use that as a test coupon to tell you that the sealant has set up firmly or not.
BTW, I've got more than a few "tank repair" blog posts.
Great info, thanks! I'll check out those posts as well. Appreciate your time.
 
I was planning to open up each bay and go that route, rather than removing the rear baffle. Is there an advantage to removing the rear over opening up each bay? Seems like a better chance at sealing everything from the inside with the latter.
i have done both and it is a lot harder to remove old sealant through a hole vs full access. don't forget you will also need lights and mirrors to work on the backside of stiffners. also tougher to get deep in the tank with your arm and still see what you are doing. downsides are necessary paint repair and greater likelihood of error in resealing the rear baffle. seems to be the most common sealant failure area for amatuers.
 
I think there are two scenarios. I had multiple localized leaks with generally cured and attached sealer. Opened the back of each bay and smeared a fillet of sealer along every seam, joint and rivet head inside the tank. I was suprised how clean it was inside. No cleaning or mechanical treatment of the inside required at all. On the other hand, if there's some general degradation of the sealant or other damage, all bets are off. Mechanical or other removal of the excess old sealant would be a good idea where you can.

I installed round access covers on all bays of both tanks. Only one small leak at a rivet head after 10+ years. Don't go easy with the sealer. Use generous amounts to cover all the rivet heads and bridge the seams. Removing the rear cover works. Less work IMO to cut holes and I didn't have any trouble reaching inside. And I was certain I sealed all joints.
 
Last edited:
Back
Top
