BGordon
Well Known Member
Good evening everyone,
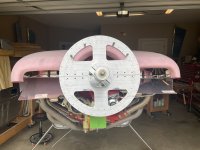
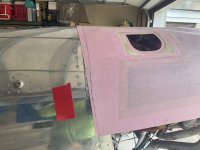
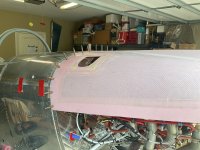
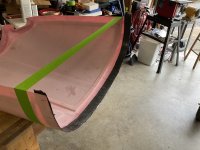
I have started on trimming my cowling to fit and was wondering...I saw somewhere that I can trim the flanges on the lower cowling so that the top fits better, however I can't find it anymore. Does anyone know of the drawing that shows the hatched lines showing the allowed trims of the lower cowling at the prop circle?
thanks in advanced
B