randyintejas
Well Known Member
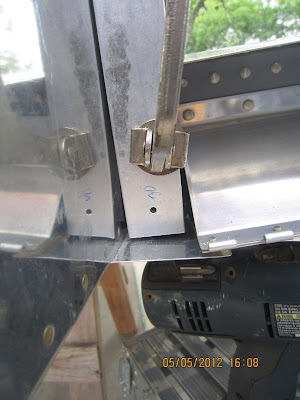
Yep.. I read all the post and checked out as many builder sites as possible. Fear Not, I still made it as hard as possible!! Yes I got it done and yes it matches the skin line, still not sure about the 17deg twist on the end but form what I understand it can be tweaked latter.
So, I?m going to say this so that others don?t feel so bad. IT TOOK ME TWO (that?s right 2) DAYS to COMPLETE! I see where other did it in two hours or 20 min? Ha I spent 2 hours just cleaning up one from all the dang marks I put in it so.. top that! Well it?s done and over so I can now get back to joining the aft and center fuse sections. Carry on
So, I?m going to say this so that others don?t feel so bad. IT TOOK ME TWO (that?s right 2) DAYS to COMPLETE! I see where other did it in two hours or 20 min? Ha I spent 2 hours just cleaning up one from all the dang marks I put in it so.. top that! Well it?s done and over so I can now get back to joining the aft and center fuse sections. Carry on