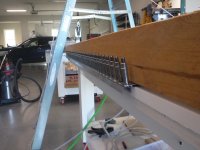
This is how I did mine. As you can see, I used proseal. Might as well get used to it now. Don’t use the rudder trailing edge to match drill your angle from Lowe’s. It’ll bugger up your rudder t.e. holes. Use a scrap piece of t.e. or some other means. You can drill the holes a bit larger to allow for any discrepancies. Think I went to 37. As long as the clecos can grab. One advantage of proseal is you can peel back the skin as required. I did solid rivets in that area so it is necessary to peel back. It you’re using pulled then it may be a non issue. BTW, that IS a typo, that has not been revised in quite a few years. I did the t.e. rivets as per sect 5 with the final set being done with a mushroom set. Does a nice job and flattens out any pillowing. If you have access to a piece of angle iron, it makes for an excellent back riveting base for this, and future control surfaces. Bolted mine (3X3X1/4”) to edge of bench. When capturing the left skin with clecos, leave 5-6 holes open between the captured cleco and the one coming up through the right skin.
Good luck.
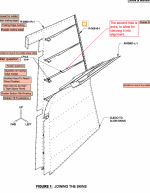
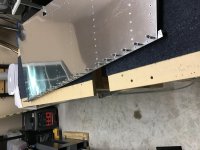
View attachment 23035
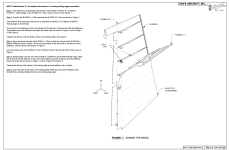
View attachment 23036
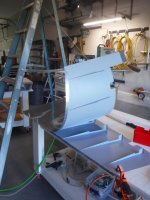
View attachment 23037