pastranafan5
Active Member
Is it worth buying already completed fuel tanks for $2000, or is dealing with the sealant not that big of a deal?


It's a rite of passage like any other part of the build. Just a different set of annoyances. Certainly not worth $2000 to me to avoid. Heck, you could avoid building the entire plane if you wanted, but that's not the point
Chris
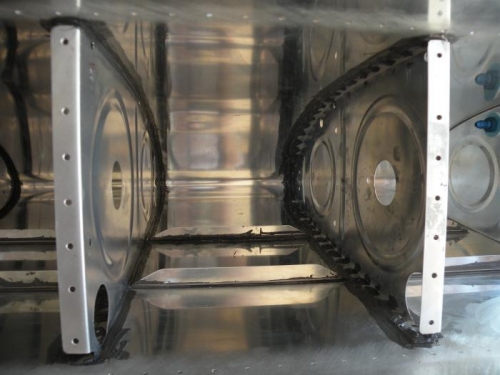
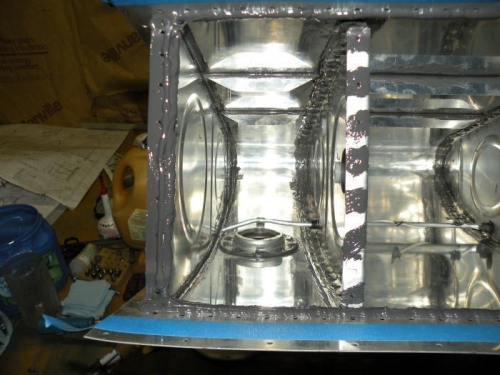
Place the completed tank onto the wing (leading edge up so the baffle sealant will "sag" back to make a nice bead along all the baffle corners) and add a few screws to hold it in perfect alignment with the wing so you don't get a twist set in the tank.


Thanks everybody for the comments. After reading all of these and the previous posts I have decided to tackle it.
Good for you Dennis! The VERY hardest part is gettng started.
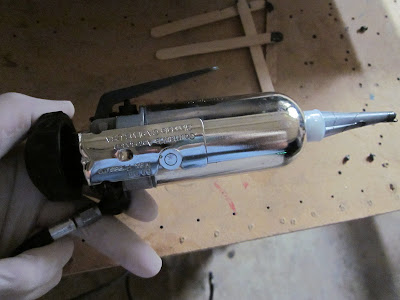
The tongue depressor is only good for mixing IMHO. For applicaton to flanges, I used acid brushes trimmed down to about 1/4" to 3/8" for stiffness. I also used these brushes to apply and smooth the fillets after riveting. 30cc syringes from drugstore.com worked great for applying the bead for the baffle. Mine aren't quite as neat as Bruce's, but I was pleasantly surprised how clean they came out. I haven't fueled mine yet, but they do hold air.