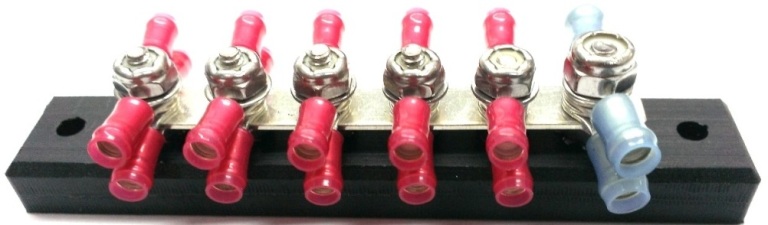
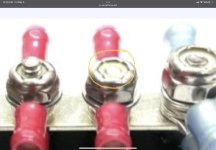
Grrr...... So I'm down to my last 2 grounds (Aux Audio 1 & 2), and I've only got 1 open position on my ground terminal strip. I could combine these 2 aux audio grounds into one ring terminal, but my gut tells me that would be a bad idea. I could also add a small auxiliary terminal strip and feed that into the primary terminal ground strip, but I think that would also be a bad idea. Thinking I might have to make another terminal strip and run some grounds to that, then to the ground stud.
Thoughts?
Tia
Thoughts?
Tia